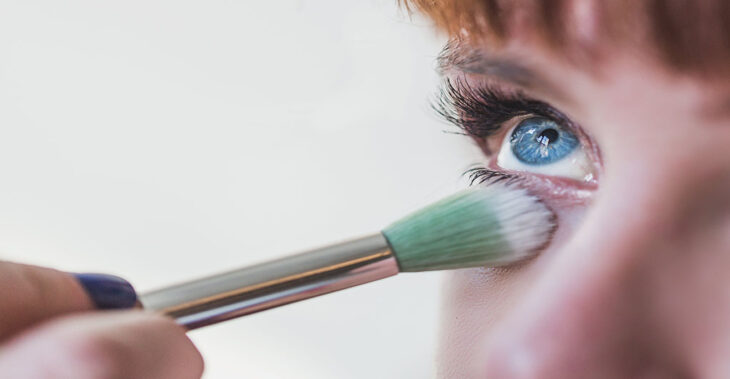
How to Perfect Concealer Makeup Lines Under the Eyes
When it comes to achieving a flawless makeup look, under-eye concealer plays a pivotal role. Yet, many struggle with creasing or unnatural-looking lines under the eyes. Here’s a guide to mastering the art of perfecting concealer for a smooth, radiant finish.
Step 1: Prep the Skin
Preparation is key to preventing creasing and enhancing the longevity of your concealer. Here’s how to do it:
• Hydrate the Area: Begin with a lightweight, hydrating eye cream. This helps to plump up fine lines and create a smooth canvas for makeup. Allow it to fully absorb before applying any product.
• Prime: Use a small amount of primer formulated for the under-eye area. This step helps to fill in fine lines and ensures the concealer stays in place.
Step 2: Choose the Right Products
Selecting the appropriate concealer and tools is crucial:
• Concealer Formula: Opt for a creamy, lightweight concealer that provides buildable coverage. Avoid overly thick or matte formulas, as they tend to settle into fine lines.
• Shade Selection: Choose a shade that is one to two shades lighter than your skin tone to brighten the under-eye area without looking unnatural.
• Tools: Use a small, fluffy brush or a damp beauty sponge for seamless blending.
Step 3: Application Technique
How you apply your concealer can make all the difference:
1. Apply Strategically: Instead of sweeping concealer all over, focus on the areas that need coverage the most. Usually, this is the inner corner of the eye and slightly down into the hollow of the under-eye area.
2. Less is More: Start with a minimal amount and build coverage gradually. Overloading the area increases the likelihood of creasing.
3. Blend with Precision: Use tapping or stippling motions to blend the concealer seamlessly into the skin. Avoid dragging the product, as this can disturb the base and create streaks.
Step 4: Set for Longevity
To lock in your concealer and prevent creasing:
• Light Setting Powder: Choose a finely milled translucent powder for a smooth finish. Avoid powders that are too heavy or have a flashback effect in photos.
• Baking Technique (Optional): For special occasions, apply a generous amount of setting powder with a damp sponge, let it sit for a few minutes, and dust off the excess. This creates a long-lasting, crease-free finish.
• Mist to Finish: A hydrating setting spray can melt the layers together and prevent the area from looking too dry or cakey.
Step 5: Address Common Concerns
• Creasing: If creases form throughout the day, use your fingertip to gently press the product back into place. Avoid adding more concealer, which can exacerbate the issue.
• Dark Circles: For extremely dark circles, consider a colour corrector (such as peach or orange tones) underneath the concealer to neutralize discoloration.
• Dry Patches: Exfoliate the under-eye area once a week with a gentle exfoliant to keep the skin smooth and ready for makeup application.
Pro Tips for a Flawless Finish
• Build Gradually: It’s easier to add more product than to remove excess.
• Use the Right Lighting: Apply your makeup in natural light to ensure the concealer blends seamlessly into your skin tone.
• Customize Your Routine: Adapt your technique based on your skin type and concerns. Oily skin may need more powder, while dry skin benefits from extra hydration.
With these steps, you can achieve perfectly concealed under-eyes that look natural, smooth, and radiant. Mastering the art of concealer is all about preparation, precision, and the right products—and with practice, you’ll be an expert in no time!
